
DIY Wintertime Self-Care
Are you ready to take on winter like a glowing goddess? Despite all of its beauty, winter brings with it some blustery weather that will surely sap your skin dry. And let's not forget all the wintertime illnesses that linger in the air.No worries though, I've dug up some delicious DIYs to carry you through this winter season! Bonus, they make perfect handmade gifts.

Are you ready to take on winter like a glowing goddess? Despite all of its beauty, winter brings with it some blustery weather that will surely sap your skin dry. And let's not forget all the wintertime illnesses that linger in the air.No worries though, I've dug up some delicious DIYs to carry you through this winter season! Bonus, they make perfect handmade gifts.
Evergreen Lip Balm

Our super sensitive puckers are left on their own to brave the elements. Smooth, shine, and refresh your lips with this grounding lip balm!
Supplies
lip balm tin
double boiler (or a glass bowl fit into a saucepan)
grated beeswax
virgin organic coconut oil
organic raw honey
vitamin E capsules
toothpick
your favorite evergreen EO (mine is Plant Guru’s “Deep Forest”)
How To
Add 1 TBSP beeswax to double boiler at low heat. When halfway melted add in 1 TBSP coconut oil. Melt together, then add 2 vitamin E capsules or ½ tsp. Remove from heat and quickly mix in-dash of honey and a few drops EO. Add mixture to the tin container before it solidifies. In order to keep ingredients from separating, continue to stir with a toothpick until the mixture is more solid.
Benefits
Beeswax is anti-inflammatory, antibacterial, and full of antioxidants. Heals damaged skin and protects against UV rays. Locks in moisture, soothes dryness, contains vitamin A for healthy cell development.
Coconut oil contains lauric acid that dives deep into the skin barrier to relieve inflammation.
Honey sucks moisture from the air and locks it into your skin, a natural exfoliant, heals, nourishes, protects.
Vitamin E fights off free radicals, softens skin.
Evergreen is a grounding scent that promotes harmony and clarity.
Vanilla Bean Body Oil
This sensual body spray is my new favorite. It smells heavenly and its added health benefits make it a cold-weather must-have.

Supplies
glass spray bottle
macadamia nut oil
sweet almond oil
2 organic vanilla beans
vanilla essential oil (optional)
How To
Combine equal parts macadamia nut oil and sweet almond oil into your glass spray bottle. Cut vanilla beans in half (lengthwise) and add to oil. The vanilla beans can take some time to infuse with the oils. For instant aroma add a few drops of vanilla essential oil. Spritz the oil on after your shower to seal in moisture! Once you’ve used up the oil, salvage the vanilla seeds and use them as a facial exfoliant or add to a body scrub!
Benefits
Macadamia nut oil is lightweight, reduces itching and inflammation; linoleic fatty acid helps skin retain moisture.
Sweet almond oil has 200% of the daily recommended amount of vitamin E, packed full of antioxidants that help protect against UV damage, contains vitamin A that can help prevent acne, helps with psoriasis and eczema.
Vanilla anti-inflammatory, antibacterial, contains antioxidants, packed with vitamin B for healthy skin! The scent of vanilla is said to promote feelings of well being, and the Mayans even believed it to be an aphrodisiac!
Homemade Honey Cough Syrup
Every year, I think I'm in the clear. And then...it hits me! Bam! That first cough/cold combo of the season is bound to happen. Whip up a batch of this cough syrup while you’re feeling good so you can tackle that sickness with a vengeance when it comes your way. You can even start taking some now as a preventative! This recipe will stay good for a few weeks when stored in a cool and dry environment.

Supplies
raw or manuka honey
ground ginger (fresh or dried)
ground black pepper
lemon
ground thyme (fresh or dried)
water
mixing bowl
mason jar with lid
How To
Mix 10 TBSP honey with 4 TBSP warm water. Stir in 1 ½ tsp each of thyme, ginger, and pepper. Squeeze in the juice of ½ of a lemon. Mix together thoroughly. Store in a sealed container.
Benefits
Honey coats irritated membranes with its strong antibacterial properties.
Ginger is a natural expectorant, anti-inflammatory, and helps sweat toxins out of the body; antiviral.
Lemon is super immune-boosting packed with vitamin C.
Black pepper is antibacterial, packed with vitamin C and antioxidants, and helps loosen phlegm when used with honey.
Thyme opens and relaxes airways, reduces inflammation.
Now you’re ready to take on wintertime like a glowing goddess. I hope you enjoy these blends as much as I have! Do you have a favorite winter self-care recipe? I’d love to hear about it, feel free to contact us.


3 Healing DIY Herbal Tea Blends
Is coffee your main squeeze? Don’t worry, I’m not going to try to convince you to give up your morning caffeine! Coffee drinker or not you can still enjoy the magic of herbal teas, and I’ve got some good reasons why you’ll want to add them to your healing arsenal.This one is for my novice and veteran tea drinkers alike!I'm going to tap into tea’s magical powers and present you with a list to create your own fusion and 3 of my favorite recipes! Caffeine doesn’t agree with my body so I enjoy multiple cups a day of herbal tea. The varieties of herbal blends are endless, but my favorite part is that each blend comes with multiple healing benefits.Tea really is a gift from some ethereal being. After all, legend has it that the second emperor of China discovered tea when some tea leaves mysteriously blew into his pot of boiling water. Today, you can elaborate on this otherworldly brew by picking herbs to tailor-make your special blend.

Is coffee your main squeeze? Don’t worry, I’m not going to try to convince you to give up your morning caffeine! Coffee drinker or not you can still enjoy the magic of herbal teas, and I’ve got some good reasons why you’ll want to add them to your healing arsenal.
This one is for my novice and veteran tea drinkers alike!
I'm going to tap into tea’s magical powers and present you with a list to create your own fusion and 3 of my favorite recipes! Caffeine doesn’t agree with my body so I enjoy multiple cups a day of herbal tea. The varieties of herbal blends are endless, but my favorite part is that each blend comes with multiple healing benefits.
Tea really is a gift from some ethereal being. After all, legend has it that the second emperor of China discovered tea when some tea leaves mysteriously blew into his pot of boiling water. Today, you can elaborate on this otherworldly brew by picking herbs to tailor-make your special blend.
The Herbal Lineup
Here are a few of my favorite common herbs to give you some ideas on your path to becoming a tea blending guru!
Ginger: digestive issues, nausea, colds, immune booster, improves diabetes, reduces inflammation
Chamomile: helps prevent illness, helps heal bacterial infections, calms muscle spasms including menstrual and digestive cramps, soothes the nervous system for decreased feelings of anxiety and improved sleep, promotes clear skin
Rose Buds: flushes toxins from the body, immune booster, improves digestion and blood flow, improves skin elasticity, helps with menstrual cramping and stress
Peppermint: fever reducer, soothes nausea and stomach pain, opens airways, appetite suppressant, stimulates the mind
Elderberry: immune booster, contains fiber for gut health, heart health, improves and prevents diabetes, reduces joint pain, slows aging of the skin
Raspberry Leaf: amazing for women, uterine tonic, antioxidant, protects against cancer, improves circulation
Hibiscus: blood pressure management, liver protection, lowers cholesterol, thirst-quenching, can help with weight loss, tastes amazing!
Echinacea: immune booster, anti-inflammatory, pain reliever, mental health, improves skin, fights infection
Lemongrass: cleansing and detoxifying, can reduce arthritis pain, antimicrobial, antioxidants
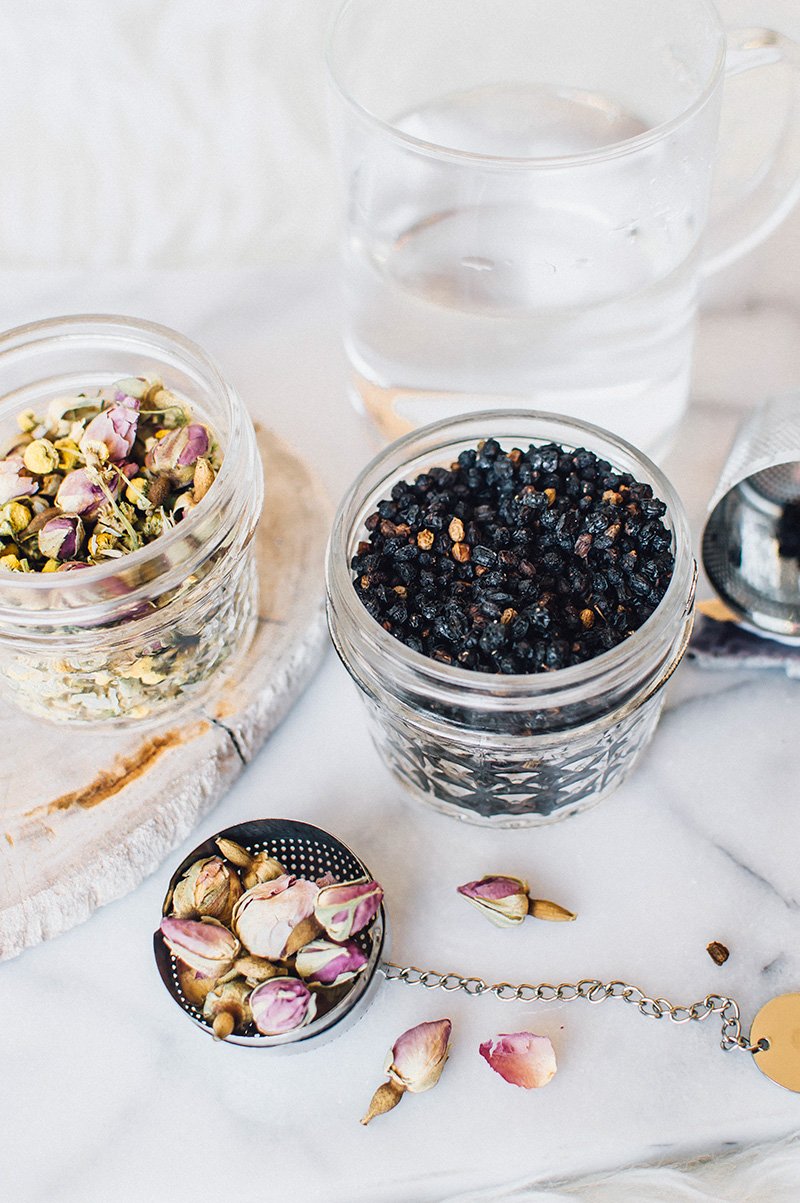
3 Healing Herbal Tea Recipes
If you want to create blends that you can premix and keep on your shelves you’ll want to use all dried herbs for each ingredient. Some of these herbs can be used fresh, you just won’t be able to save them.
Goddess Tea Blend
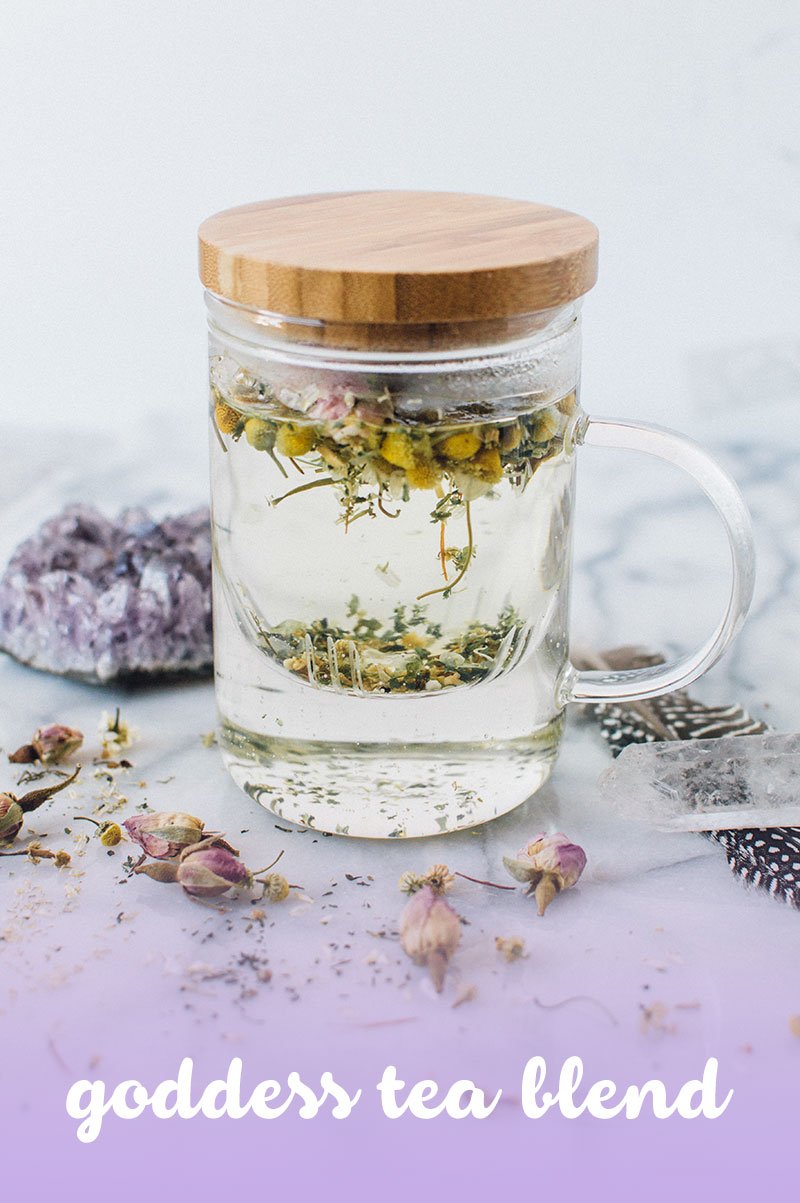
A goddess inspired floral fusion! Package this one in a mason jar and tie it up with a big pink bow before gifting it to your bestie. Include:
rosebuds
chamomile
red raspberry leaf
orange peel
hibiscus
honey or stevia (optional)
Immune Booster Blend

Here's an immune booster you’ll want to keep handy this winter. Store this one in an airtight container with your other natural remedies for warding off illness. Include:
elderberries
echinacea leaf
lemongrass
ginger to taste
honey or stevia (optional)
Cacao Peppermint Dessert Tea
Calm the spirit and enliven the mind with this delicious dessert blend! Serve it up with cream and raw honey at your next dinner party. Include:
peppermint
cacao nibs
dried coconut
cinnamon to taste
milk substitute (optional)
honey (optional)
Brewing Instructions

Mix equal parts of each of the herbs, place in your favorite herbal tea bag or infuser, pour hot water over the herbs, maybe even drop a crystal in your glass for an amped up elixir, cover with a lid or plate as the herbs infuse into your water, wait 5-10 minutes, remove your tea infuser, enjoy!
Have a favorite herbal blend? I’d love to hear about it!


3 Anxiety Reducing Tips for the Holidays or Post Election
Do you sense it? That palpable feeling of uncertainty, anger, and anxiety in the air?I intended to share this blog post closer to the holidays, but hey, I think we might all need it now and the holidays really aren’t too far away!If you’ve been sitting in a combination of befuddlement, anger, and anxiety over the last few days, like me, you might be getting to the point where you’re asking yourself, “what now?”Well, I might not have the big answers for you but I do have 3 quick tips for reducing your anxiety, which will hopefully give you the tools you need to answer, “what now?”, for yourself.

Do you sense it? That palpable feeling of uncertainty, anger, and anxiety in the air?
I intended to share this blog post closer to the holidays, but hey, I think we might all need it now and the holidays really aren’t too far away!
If you’ve been sitting in a combination of befuddlement, anger, and anxiety over the last few days, like me, you might be getting to the point where you’re asking yourself, “what now?”
Well, I might not have the big answers for you but I do have 3 quick tips for reducing your anxiety, which will hopefully give you the tools you need to answer, “what now?”, for yourself.
Not only can lingering feelings of anger and anxiety make it hard to move forward, but they can also seep out onto others and wreak havoc within your body. Here are 3 of my favorite go-to’s to help heal mind, body, and soul during intense times of anger and anxiety.
Golden Milk Latte

Turmeric is the main ingredient in golden milk (I could write a whole post just about the health benefits of turmeric alone) but I’ll save that for another day! Studies have shown turmeric to help with inflammation, depression, and anxiety.
This recipe has quickly become my favorite anxiety soothing beverage. Bonus, it’s delicious. Move out of the way pumpkin spice!
Golden Milk Latte Recipe
1 tsp of golden milk powder
2 cups of coconut milk or your favorite milk substitute
Honey to taste
Heat your milk substitute on the stove, whisk in your golden milk powder, and add honeyto taste.
Gold milk powder ingredients will vary, though my favorite blends include ashwagandha root. Ashwagandha root is an adaptogenic herb that is also helpful with combating anxiety. If you’re live in Phoenix, I purchase my gold milk powder locally from Strawberry Hedgehog Soap shop (available in her store only) but you can also purchase it here.
Have turmeric at home and want your soothing beverage now? Not a problem, add 1 tsp. of turmeric to your milk substitute then blend in some cinnamon, ginger, and cardamom, to taste.
Earthing: Get Grounded

Have you had a hamster wheel of thoughts and emotions cycling through your head over the last few days? It’s to be expected, anger and anxiety often come with a whirling array of constant thoughts that can be hard to silence.
Getting a big dose of grounding energy is a great way to help silence the mental chatter and may even lower your cortisol (stress hormone) levels.
There are countless ways to invite grounding energy in, but sometimes the simplest are the most healing. Have you heard of Earthing before? It’s the idea that you can be healed from the Earth and there’s actually some science behind it too. A recent study indicates that skin contact with the earth can actually lower cortisol levels.
When I was dealing with the anger and sadness of the loss of my Grandma and Father last year, I had a strong desire to lean on trees and lie on the ground. It was strange and I didn’t know why it was happening, but I went with it. After learning more about Earthing it makes sense, and now I listen to those gut instincts and get in some grounding time when I need it.
I know it might be getting cold where you are, and sometimes it’s too hot here in the desert. My second grounding go-to is an earthy essential oil, it’s not quite the same but it can help in a pinch!
Anxiety Tea Bath
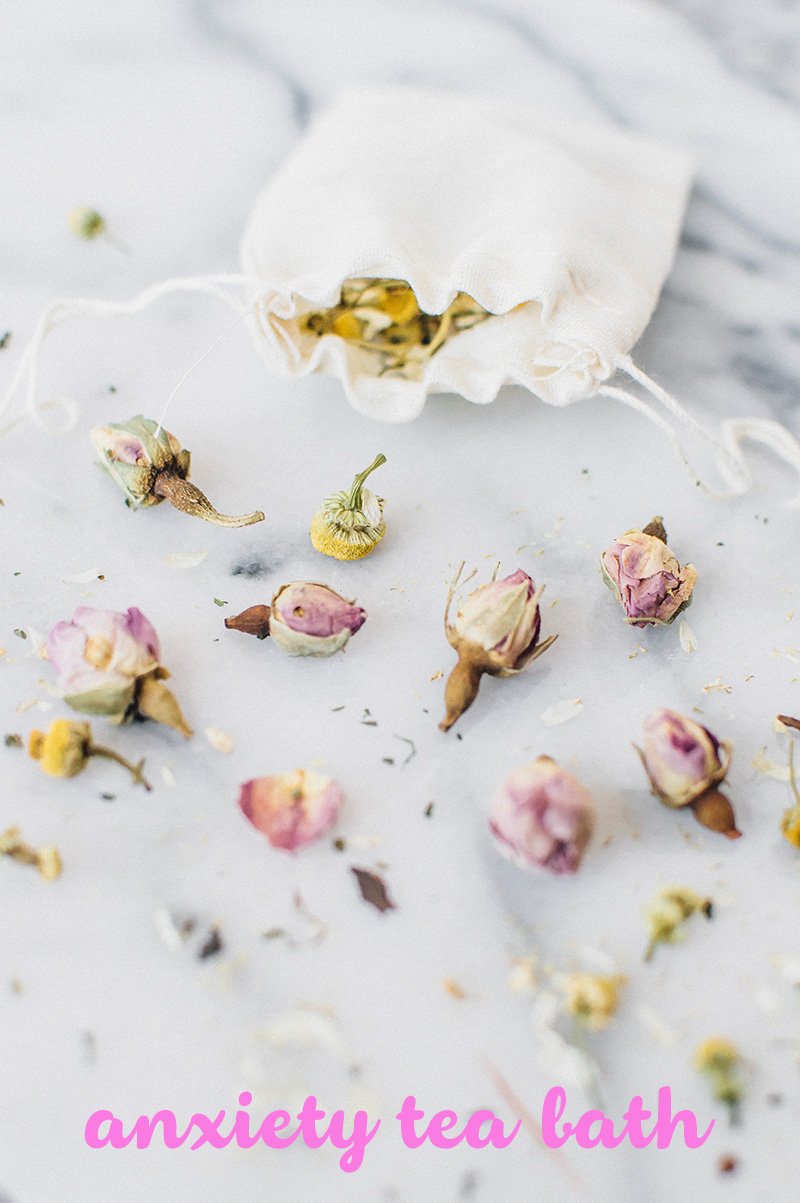
The power of a bath is often overlooked but your skin is your largest organ! Can you think of a more relaxing way to get in your favorite calming herbs? With open pores from warm water, your body can soak up the healing powers of herbs quickly.
Think of this as making a giant cup of tea for your body. Many herbalists actually prefer this method for administering herbs. Here’s one of my favorite recipes from Rosemary Gladstar’s book Herbal Recipes for Vibrant Health.
Mix these herbs into a muslin cloth bag or a cotton cloth that you can tie a knot in one end. Tie or wrap the bag of herbs around your faucet so the running water runs through the herbs.
2 parts chamomile
2 parts lavender
2 parts roses
1 part comfrey leaf
I love to add in some Epsom salt and essential oils to the mix for the ultimate calming bath.
Will any of these tips heal the world? Nope. I simply want to offer you some of my favorite tools when sometimes taking any action to move forward seems difficult. There is much work to be done here on this Earth plane, and I don’t want you or me to be a ball of angry anxiety as we embark on it!
Have a favorite de-stressing tip? I’d love to hear it, feel free to send me a DM!


3 Unexpected & Healing Uses for Himalayan Salt
Did you know that the Himalayan salt “crystal” is an up and coming contender not only in the kitchen but also in the medicine cabinet?What you put in fuels your temple. I know that you need your ingredients to pack a punch. Actually, you need salt to survive. It keeps hormones and nutrients in balance and maintains fluids. Since your body doesn't produce salt, it's counting on you to give it the purest option out there. Table salt isn't going to cut it.Let me start though, by answering your first question…Is it really that different from table salt?
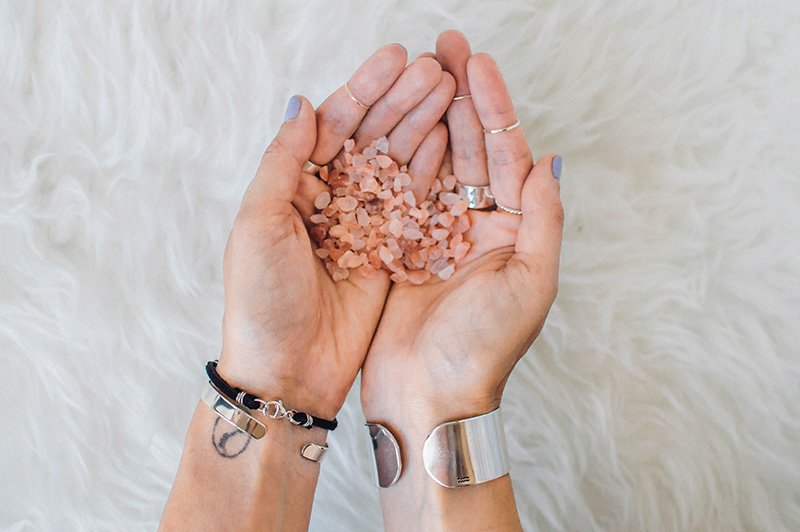
Did you know that the Himalayan salt “crystal” is an up and coming contender not only in the kitchen but also in the medicine cabinet?
What you put in fuels your temple. I know that you need your ingredients to pack a punch. Actually, you need salt to survive. It keeps hormones and nutrients in balance and maintains fluids. Since your body doesn't produce salt, it's counting on you to give it the purest option out there. Table salt isn't going to cut it.
Let me start though, by answering your first question…
Is it really that different from table salt?
What you might not know about Himalayan salt is that it is mined from ancient sea beds in Pakistan. Ancient. Meaning, before pollution. This pure pink salt is free from toxins that appear in other sea salts. Because it has housed itself in such a clean environment it doesn't need to be cleaned, and therefore stripped of any of its 83 trace minerals. The same can't be said of table salt. After it's been cleaned, you’re left with sodium chloride and maybe even some additives to keep it from clumping.
So, how can you incorporate this magical salt crystal into your day? Here are 3 easy and healing uses for Himalayan salt.
Salt Inhaler
When I first stumbled upon the uses of Himalayan salt, I saw that it helps with respiratory and sinus function. There's actually such a thing as a salt inhaler! For us allergy sufferers, I'm not sure a more steadfast way exists to test out this crystal’s effectiveness.

Can't wait to find out if this crystal will work its magic on your wicked allergies? I couldn't either. I got a portable inhaler to take on the go here, but you can also purchase larger ones here.
While I was surprised by this awesome gadget, using salt to treat breathing ailments dates back to the ancient Greeks who coined the term, “Halotherapy.” Other forms of Halotherapy include salt caves and even Neti pots! Benefits of Himalayan salt for breathing conditions include:
cleanses the nasal passages of irritants and pollutants
reduces swelling
relaxes airways
natural expectorant to reduce mucus
Salt Sole
An obvious way to enjoy the healing effects of Himalayan salt is to ingest it, so...I'm going to give you ZO’s recipe for Himalayan salt rock candy. It'll be a hit at your next family party...no, no, just kidding!! The best way to get a full dose of Himalayan salt is by making sole (so-lay).

Sole is a super-concentrated saltwater solution that can be made with a glass jar and a non-metal lid.
To Make Sole
Fill your jar ¼ of the way with Himalayan salt. Then add filtered water, seal with a lid, shake, and allow the mixture to sit overnight so that the salt can dissolve. If you notice that all of the salt has dissolved, add more salt until the water cannot hold anymore and is therefore fully saturated.

To Use Sole
Add a tsp to a glass of water every morning and take on an empty stomach. This is also a great concoction to add to your homemade electrolyte drinks! The benefits include:
antibacterial components detox the body
stimulates the digestive system and aids in healthy weight loss
increased hydration
caffeine-free energy
trace minerals contribute to bone health, healthy veins, skin, hair, and nails
lowers blood pressure
Salt Lamp
Himalayan salt has your allergies in the bag! But more important than clearing your nasal passages, it can also improve the air quality and give your mood an overhaul!
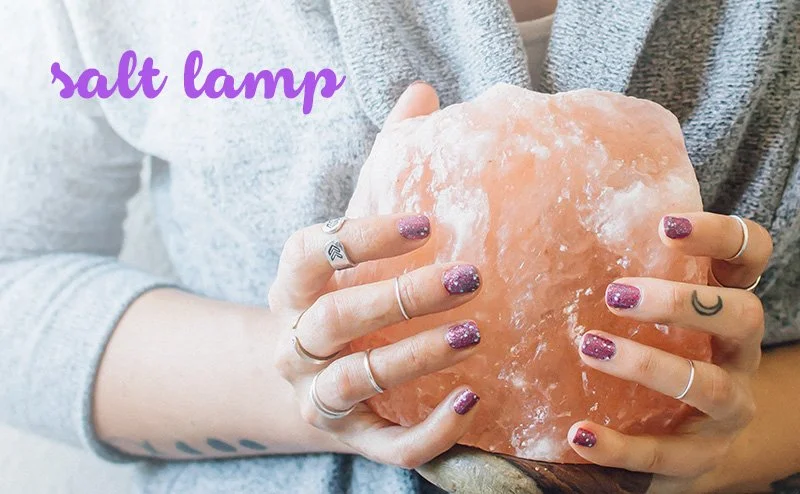
You are made up of negatively charged cells. So, like a magnet, you attract things with a positive charge...such as pet dander...dust...oh, and ions from electronics like microwaves, cell phones, and TVs. Himalayan salt lamps can combat these positive ions by emitting negative ions. Use a salt lamp by your bedside to emit negative ions for these benefits:
increased oxygen flow to the brain for better sleep and more energy
neutralizes electric smog
lowers blood pressure
decreases feelings of anxiety
I've done the research on the salt inhaler, and I have a salt lamp on my bedside table. Now, I'm looking forward to adding a Sole salt flush to my morning routine! Let me know about some of your other favorite ways to use this pretty pink crystal!

Understanding Birth Chart Basics in 6 Steps
So, you made birth charts for everyone you know but then they wanted to know what it all meant! Today, I’m going to help you decipher the lovely birth chart you made last week. Learning how to decode an astrology birth chart can be a little bit like going down the rabbit hole. Let me save you a headache and break it all down for you into six nice little steps!If you want to brush up on your astrology terms visit the first post in this series here. If you need to, grab your free printable birth chart and learn how to make it click here.First, a few things to point out about your birth chart. Think of your chart as a map of your potential. Sometimes you may get lost, take an alternate route, or change paths completely. Your birth chart is not your fate, but it can help guide you.
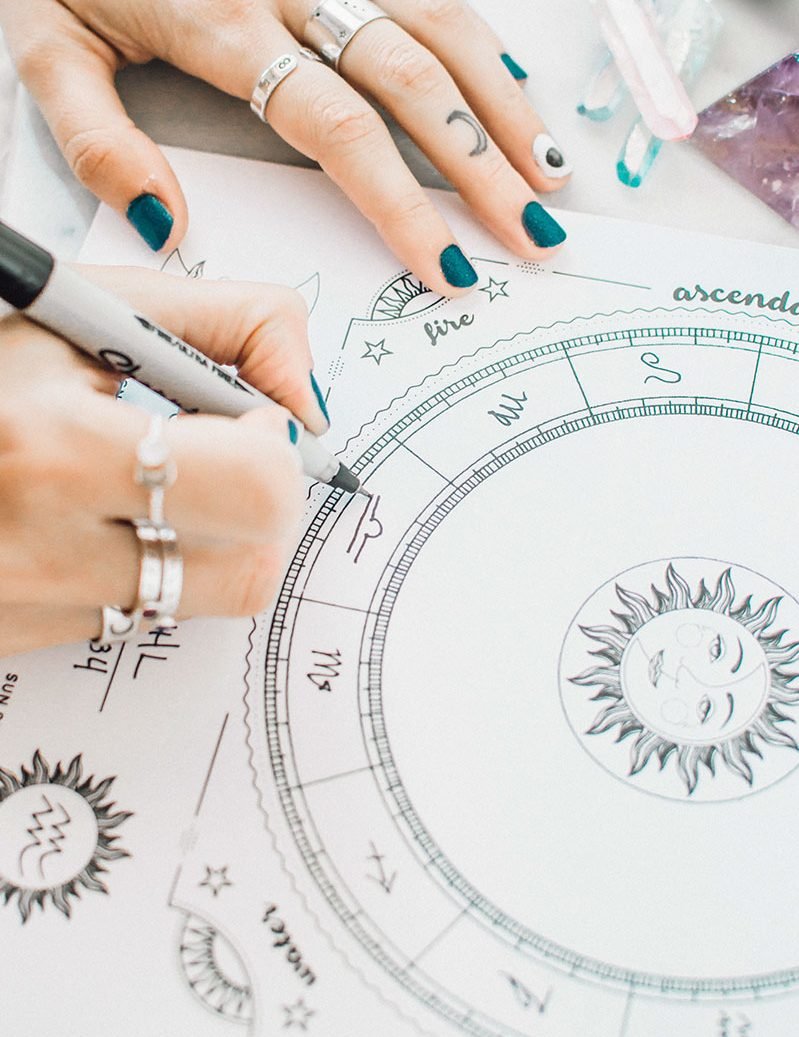
DIY Birth Chart in 10 Steps & Printable Birth Chart
Have you ever wished that you had a roadmap for your life? But does the thought of making another adult decision cause you a little sadness inside? I’m right there with you.This week I’m going to teach you how to create your own astrological birth chart and you might be surprised how telling this chart is! Bonus, I’ve even got a free printable so your birth chart will be frame-worthy.
Have you ever wished that you had a roadmap for your life? But does the thought of making another adult decision cause you a little sadness inside? I’m right there with you.
I will teach you how to create your own astrological birth chart, and you might be surprised by how telling this chart is! While you can easily find birth charts online, making your own serves a valuable purpose. Making your own birth chart helps you learn the anatomy of your birth chart and better understand how to read it. If you learn best from doing, I highly recommend creating your own birth chart.
Bonus, find a printable birth chart to make yours frame-worthy. Get it along with my other magical printables here.
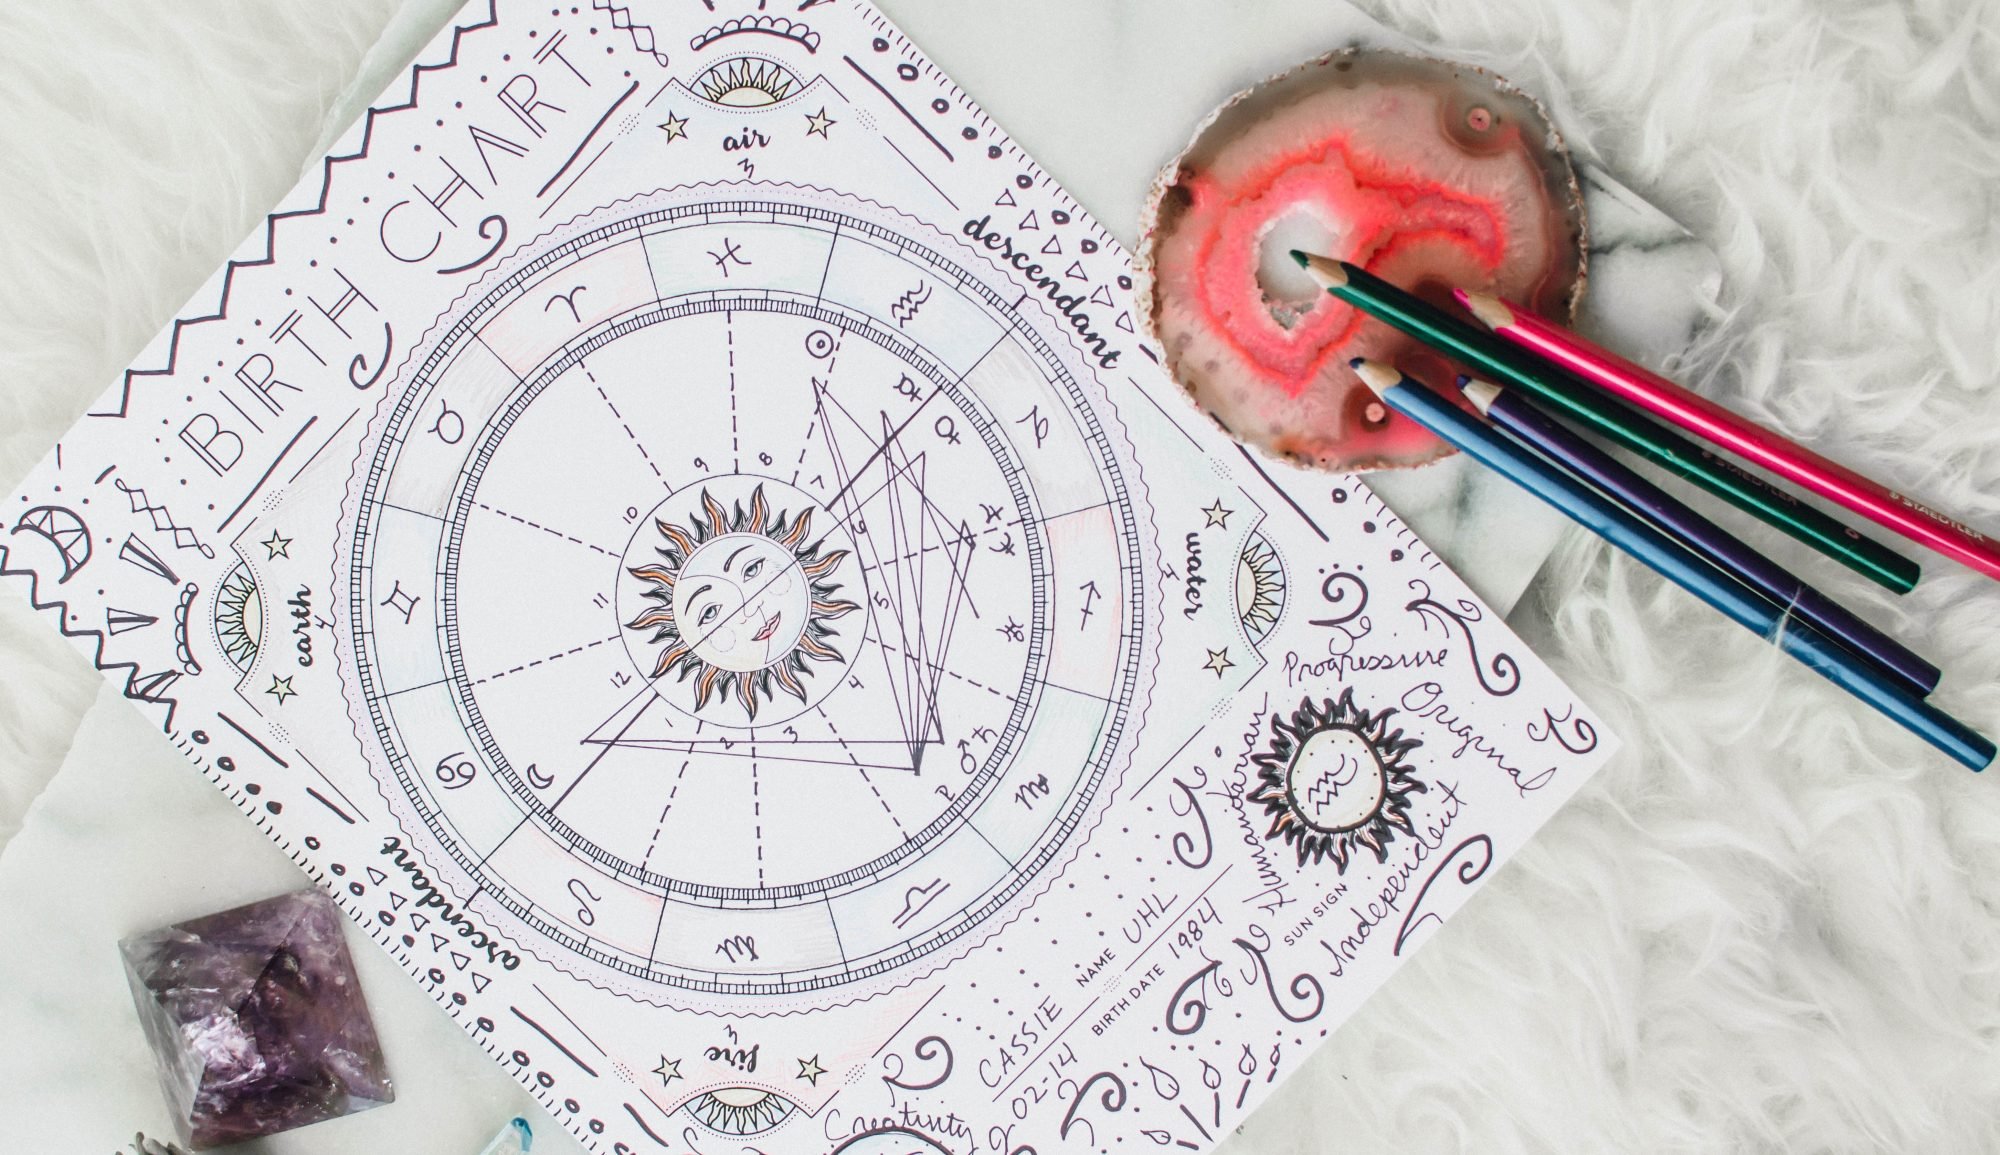
What is a Birth Chart?

A birth chart, also called a natal chart, is a chart that shows where all of the planets were at the moment you were born. A few factors play into your birth chart, the time and day you were born and the location you were born. With just this bit of information, the heavens can reveal truths about your personality, your life path, and how to get the most out of this lifetime.
Making Your Birth Chart
The free birth charts online are great for gathering information, and that’s exactly what we will use them for, but if you want to gift a birth chart or hang one on your wall, making your own is the way to go!
You can even get some extra practice and create natal charts for your loved ones as gifts. Plus, making your own is a great way to learn all these terms.
Need to get some of the astrology basics down? Check out this post to learn basic astrology lingo.
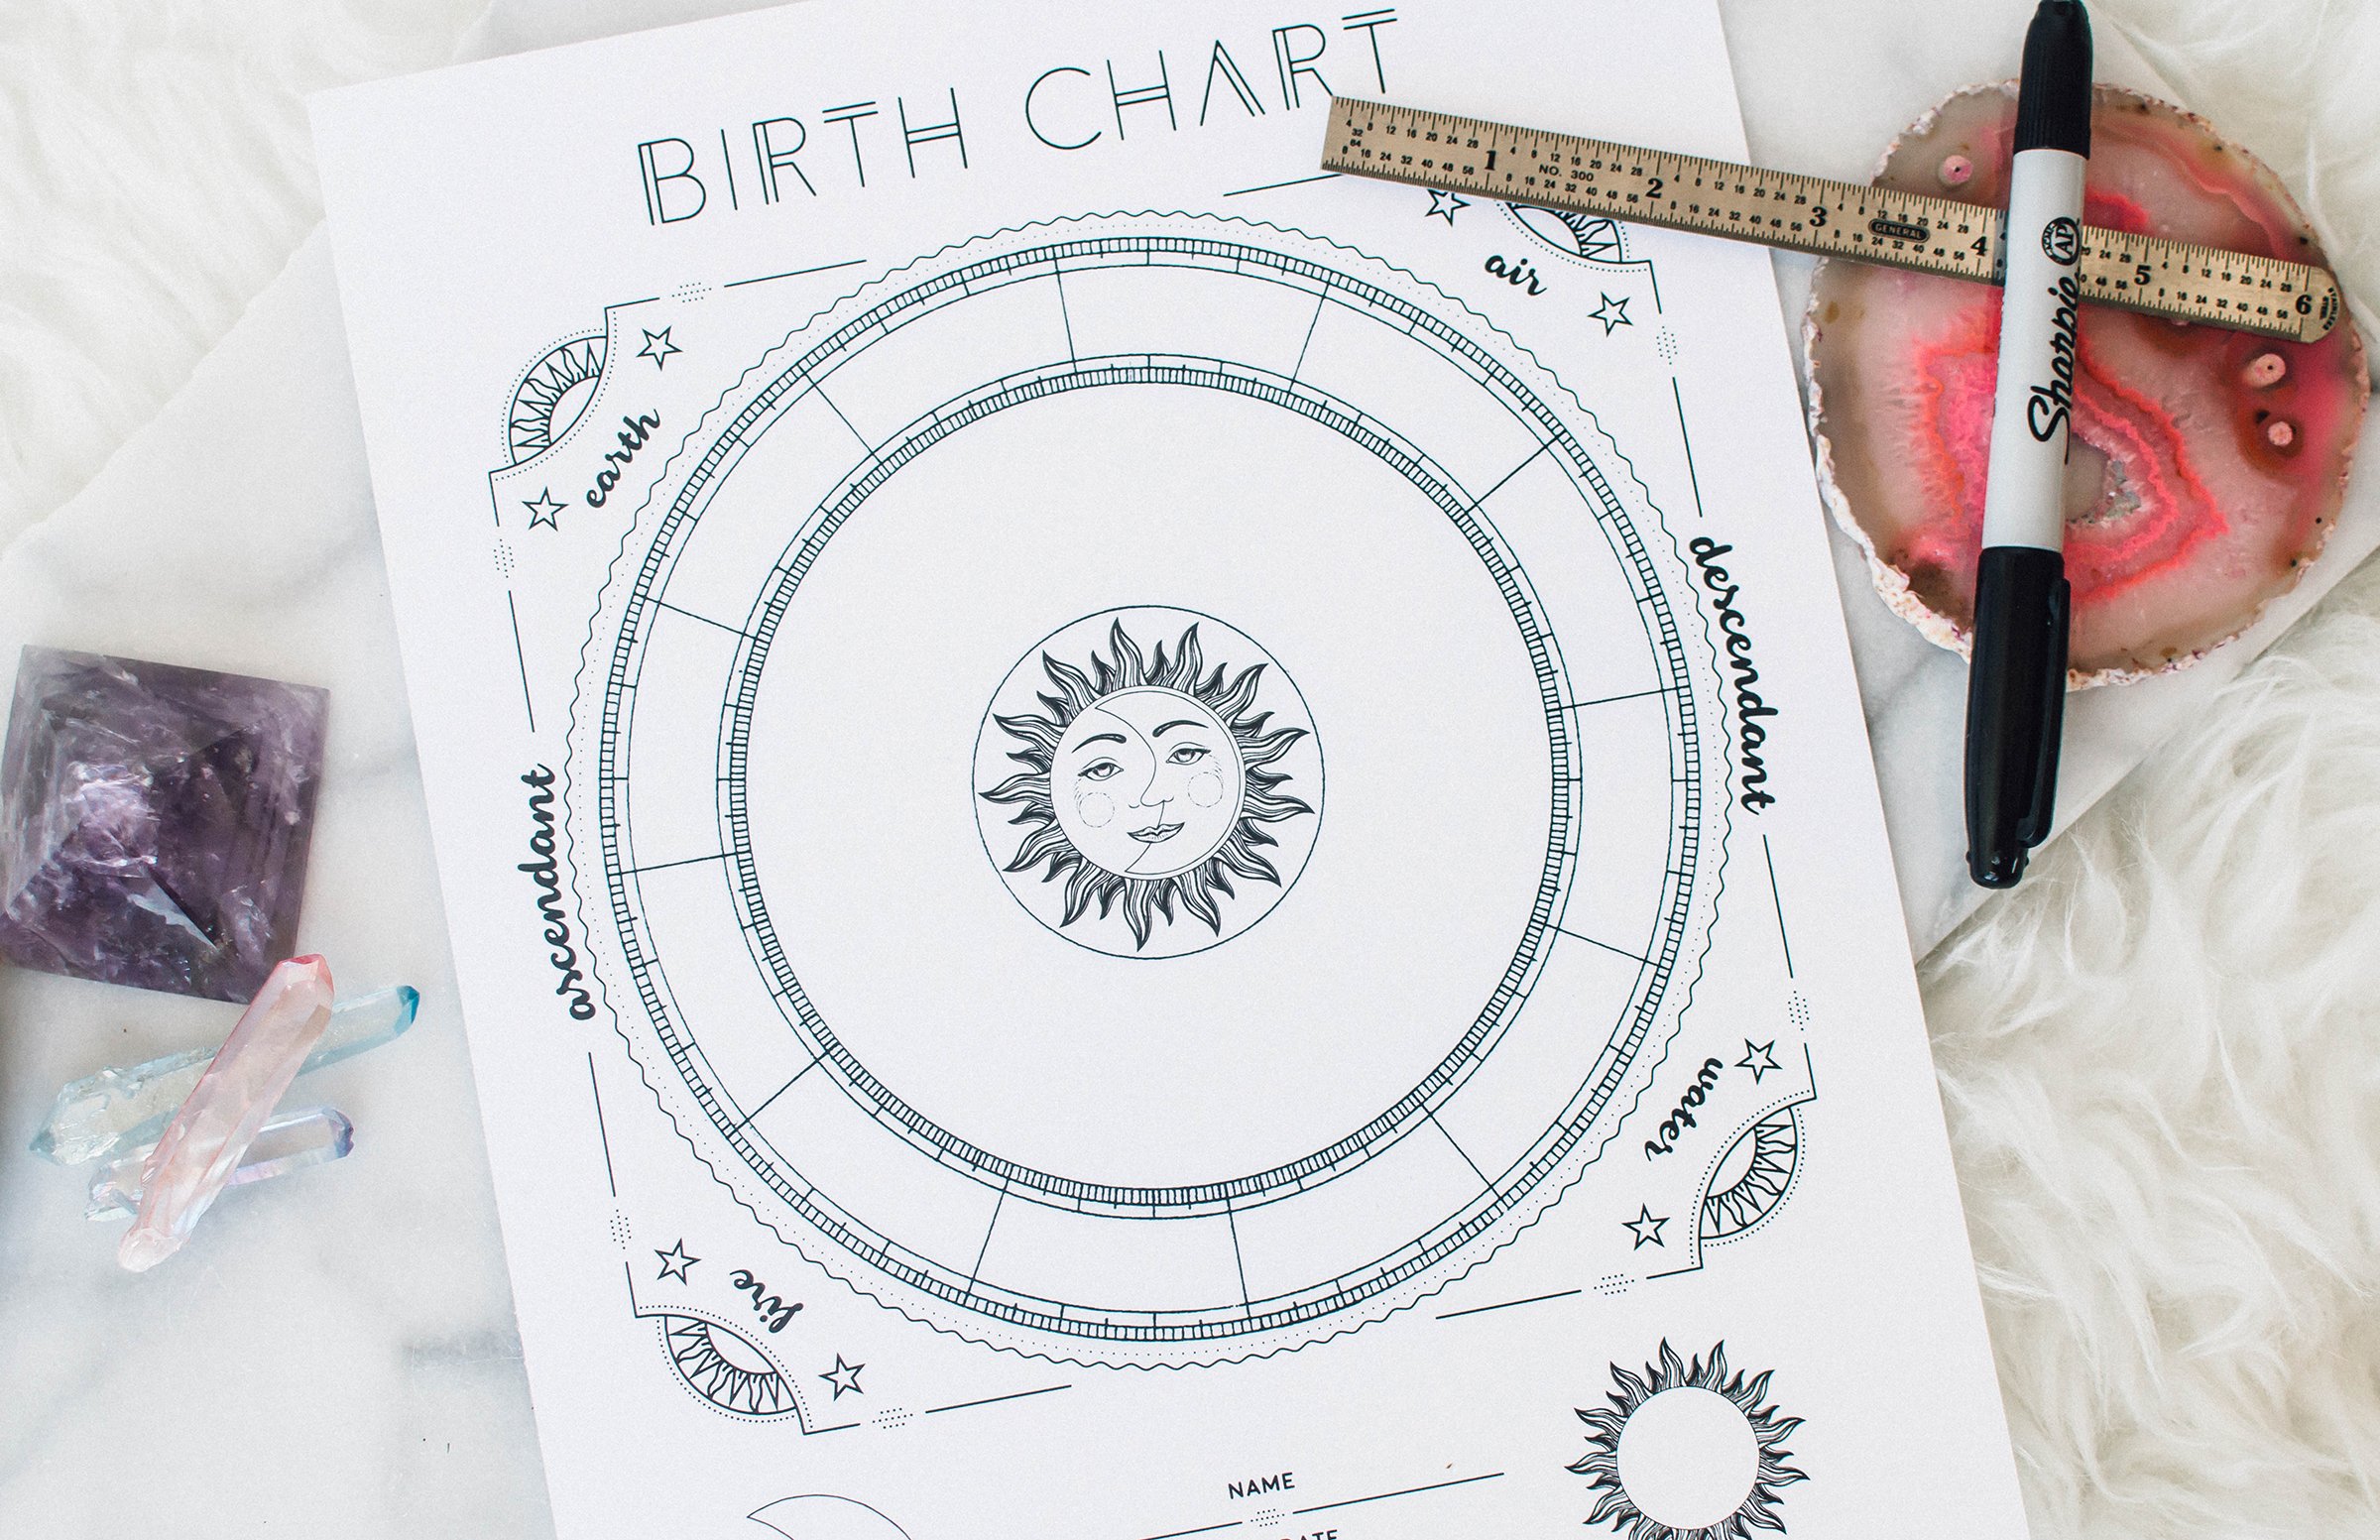
Step 1
Click here to receive your free printable birth chart.
Step 2
Gather your supplies. You’ll need:
Birth chart printable
Pen or pencil
Straight edge
Colored pencils for decorating! (optional)
Birth Date, time, and location
Step 3
Get a free birth chart report here as a reference for your DIY chart. Simply plug in your info, submit, then scroll all the way to the bottom of the page to the circular chart, that’s what we’ll be using.
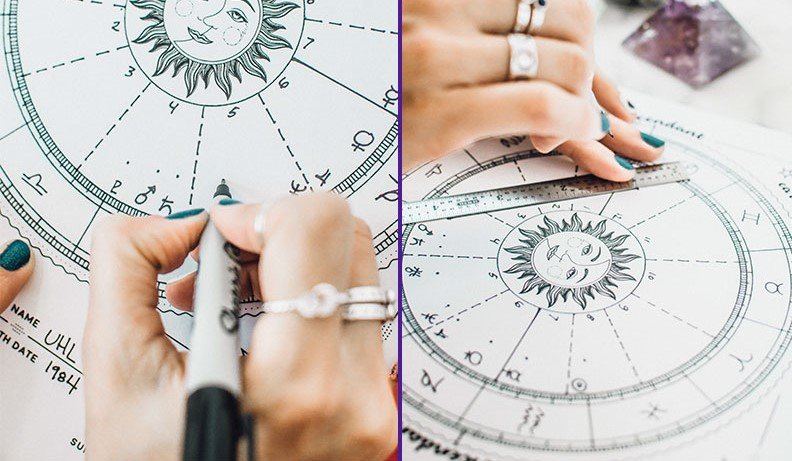
Step 4
Look at your online chart to see where the zodiac signs fall on the outer wheel. Draw them in on your chart.
Step 5
Write your name and birthdate on the chart.
Step 6
Draw in your sun and moon sign in the sun and moon pictures underneath the wheel. To figure out your sun and moon signs, look at your online chart. Find the moon symbol and see what zodiac sign it is in, and then find the sun symbol (a circle with a smaller circle inside) and see what zodiac sign it is in.

Step 7
Now we’ll draw in your ascendant and descendent line. On your online chart, there’s an arrow that’s pointing to a degree mark on the left side of the chart, this is your ascendant sign. You can also see it notated in the key below it with the number location it is in. Make a small dot on the inner circle of tick marks on your printable of where it will go, then make a dot on the opposite side of the chart, that is where your ascendant sign is. Use your ruler to connect these dots.

Step 8
Next, we’ll draw in your houses. Looking at your online chart, make a little mark on your printable where each house starts and ends. The houses are the numbered areas 1-12 or AS-XII on your online chart. Once you’ve marked each one, use your straightedge to create a dashed line to separate the houses. Starting at the house right below your ascendant sign draw in numbers or roman numerals 1-12 going counterclockwise around the wheel.

Step 9
My favorite part! Draw in where your planets fall on your chart. Look at your online chart to see where they are and draw them in roughly the same area on your printable chart. You can reference the key below the chart again to see the degree that each planet is at, and then make a tick mark at each one on your printable so you know exactly where to draw your planets in, or you can eyeball it. You can decide to draw the line that points to the degree mark it’s at or not, it’s up to you.

Step 10
The final step, draw your aspects, all those crazy zig-zag lines around the chart. Remember this chart is more for show and doesn’t have to be perfect so don’t stress over this step! The easiest way to complete this step is to make a little dot in the middle ring each place there is a planet, about an inch away from the planet you drew. Then, using your straight edge, and referencing your online chart, connect the dots, in the same order that they’re connected on the online version.
Now you can decorate your chart however you’d like or leave it as is. Learn more about decoding your birth chart here.
