DIY Birth Chart in 10 Steps & Printable Birth Chart
Have you ever wished that you had a roadmap for your life? But does the thought of making another adult decision cause you a little sadness inside? I’m right there with you.
I will teach you how to create your own astrological birth chart, and you might be surprised by how telling this chart is! While you can easily find birth charts online, making your own serves a valuable purpose. Making your own birth chart helps you learn the anatomy of your birth chart and better understand how to read it. If you learn best from doing, I highly recommend creating your own birth chart.
Bonus, find a printable birth chart to make yours frame-worthy. Get it along with my other magical printables here.
What is a Birth Chart?

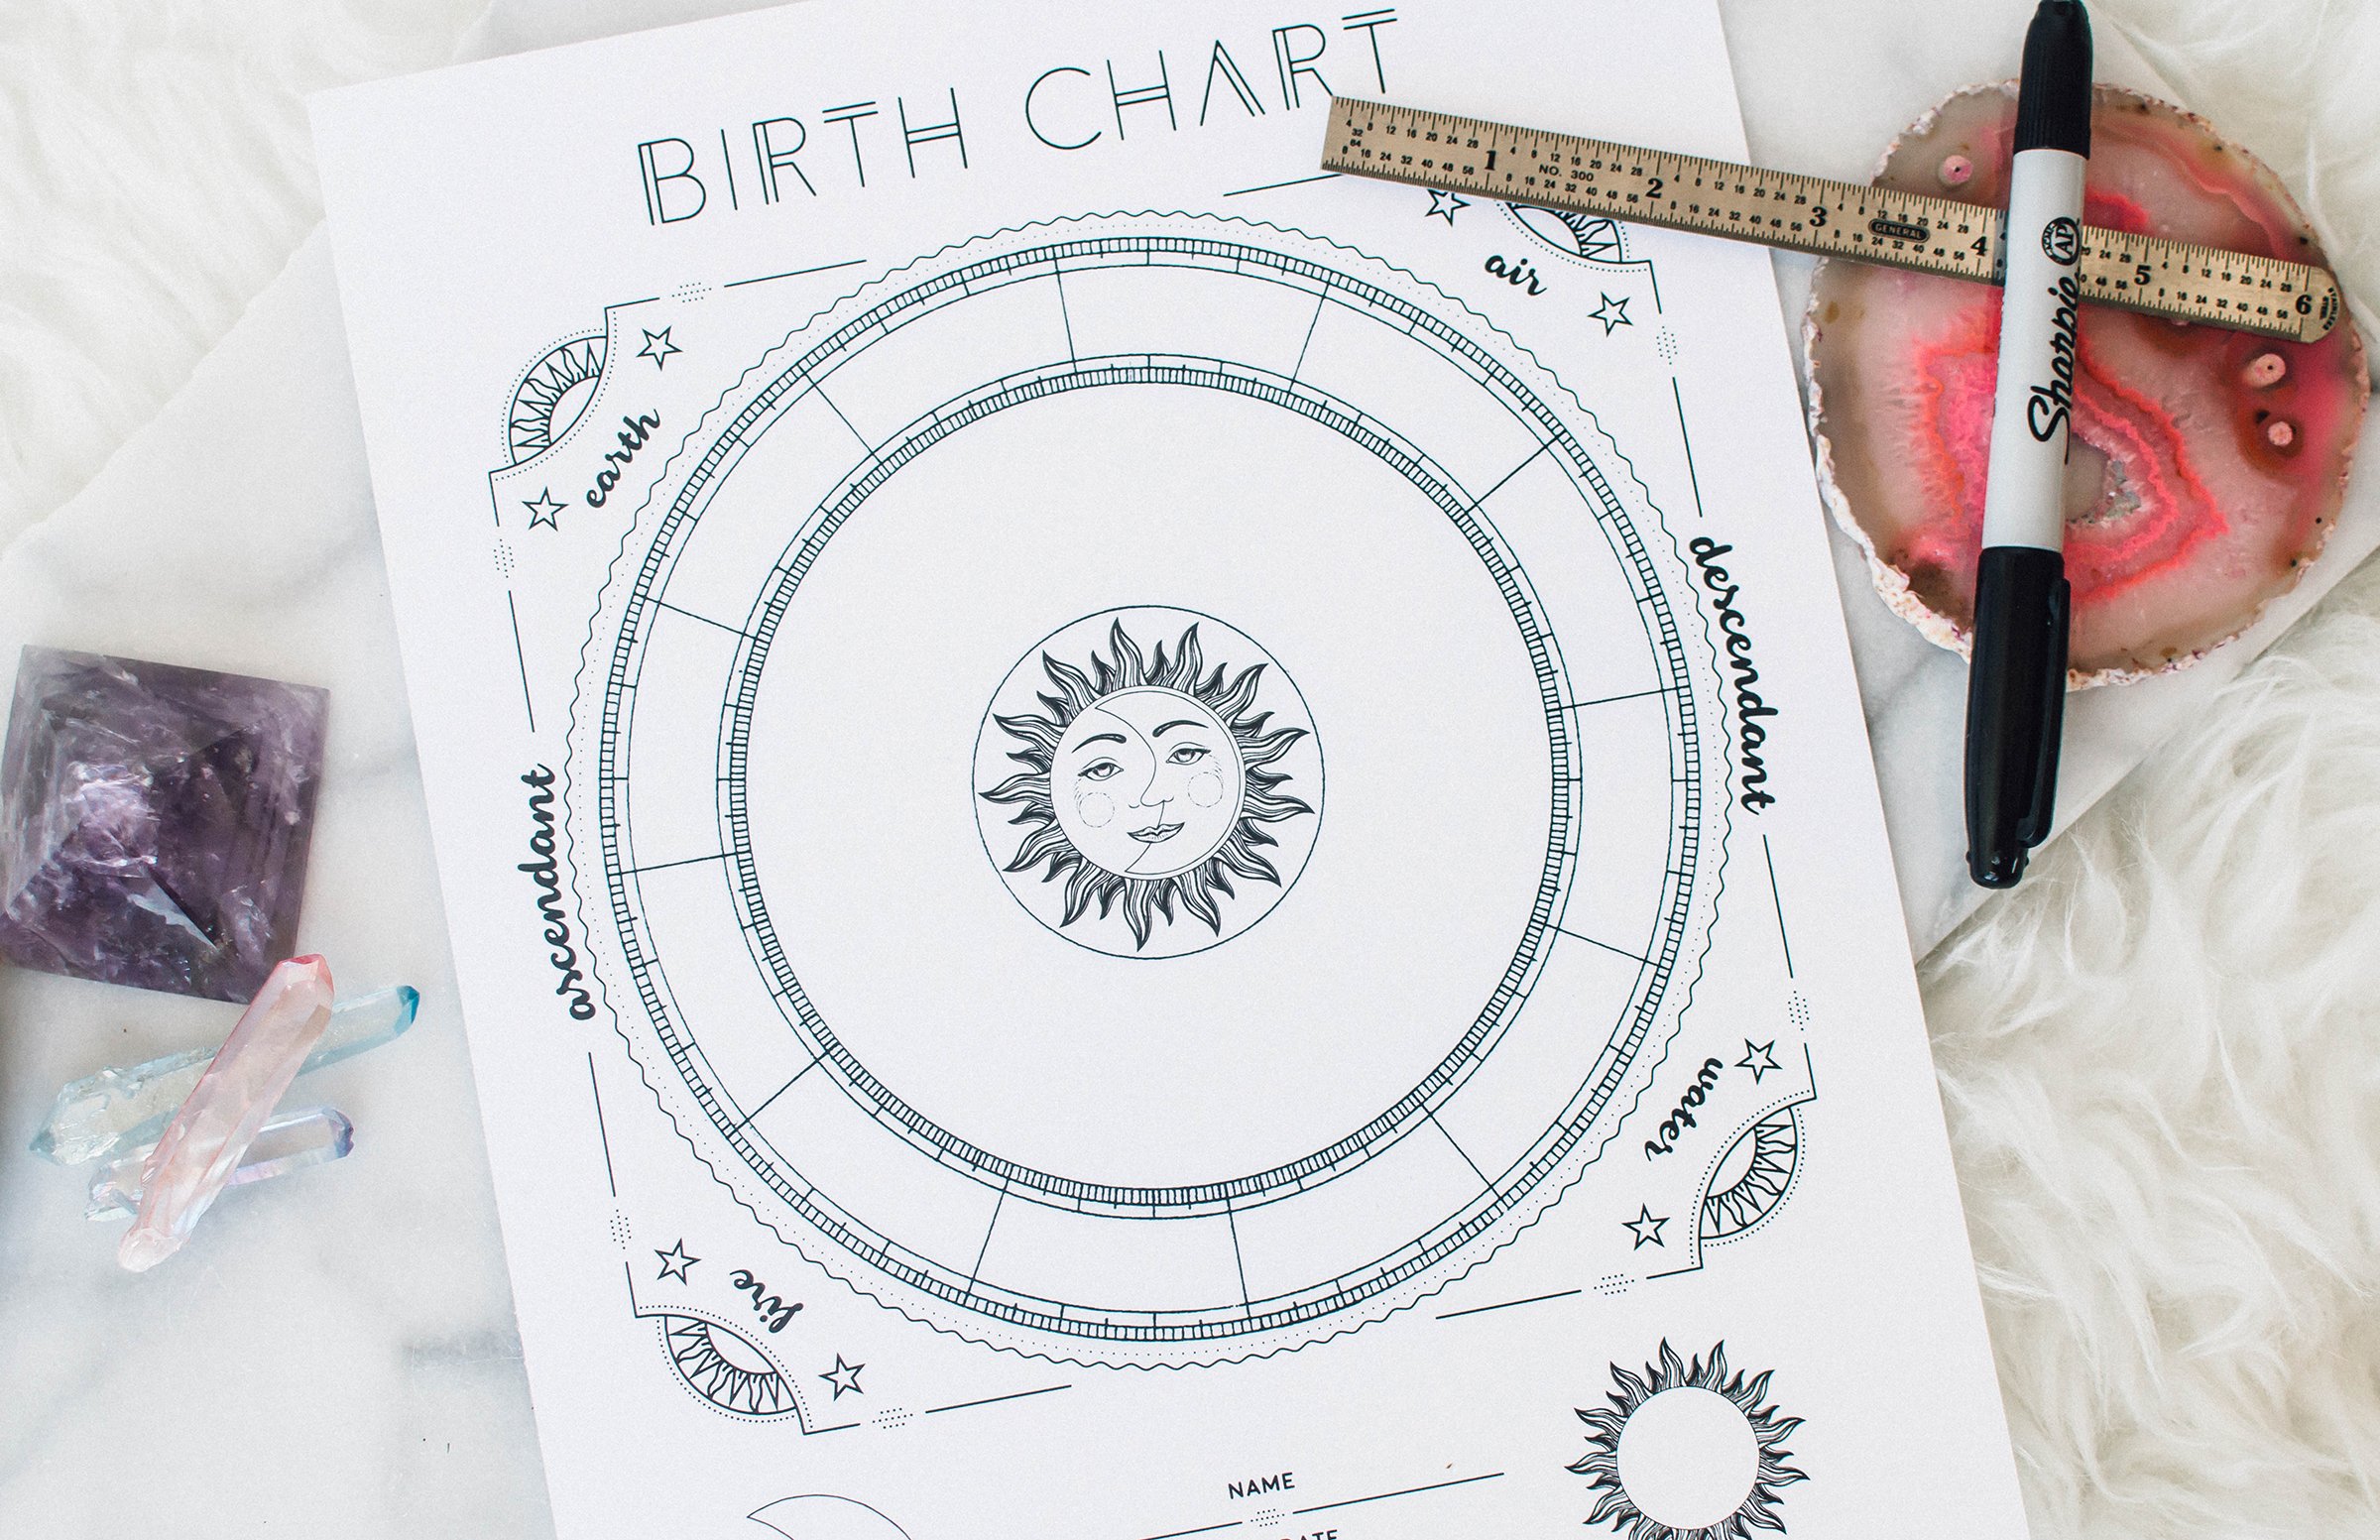
A birth chart, also called a natal chart, is a chart that shows where all of the planets were at the moment you were born. A few factors play into your birth chart, the time and day you were born and the location you were born. With just this bit of information, the heavens can reveal truths about your personality, your life path, and how to get the most out of this lifetime.
Making Your Birth Chart
The free birth charts online are great for gathering information, and that’s exactly what we will use them for, but if you want to gift a birth chart or hang one on your wall, making your own is the way to go!
You can even get some extra practice and create natal charts for your loved ones as gifts. Plus, making your own is a great way to learn all these terms.
Need to get some of the astrology basics down? Check out this post to learn basic astrology lingo.
Step 1
Click here to receive your free printable birth chart.
Step 2
Gather your supplies. You’ll need:
Birth chart printable
Pen or pencil
Straight edge
Colored pencils for decorating! (optional)
Birth Date, time, and location
Step 3
Get a free birth chart report here as a reference for your DIY chart. Simply plug in your info, submit, then scroll all the way to the bottom of the page to the circular chart, that’s what we’ll be using.
Step 4
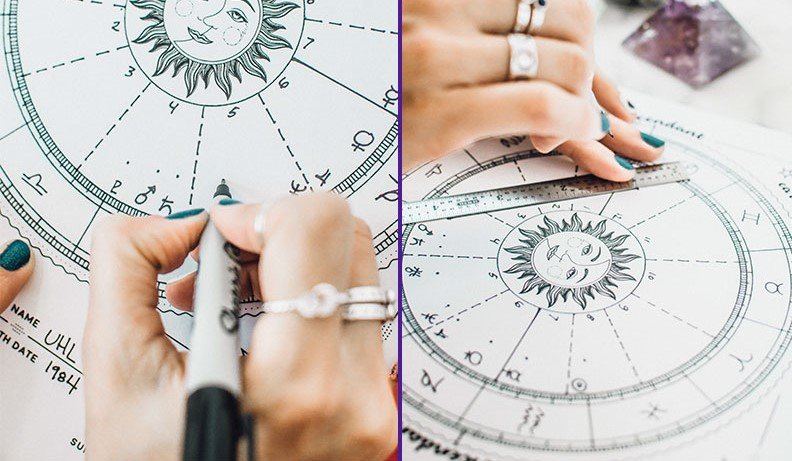
Look at your online chart to see where the zodiac signs fall on the outer wheel. Draw them in on your chart.

Step 5
Write your name and birthdate on the chart.
Step 6
Draw in your sun and moon sign in the sun and moon pictures underneath the wheel. To figure out your sun and moon signs, look at your online chart. Find the moon symbol and see what zodiac sign it is in, and then find the sun symbol (a circle with a smaller circle inside) and see what zodiac sign it is in.

Step 7
Now we’ll draw in your ascendant and descendent line. On your online chart, there’s an arrow that’s pointing to a degree mark on the left side of the chart, this is your ascendant sign. You can also see it notated in the key below it with the number location it is in. Make a small dot on the inner circle of tick marks on your printable of where it will go, then make a dot on the opposite side of the chart, that is where your ascendant sign is. Use your ruler to connect these dots.

Step 8
Next, we’ll draw in your houses. Looking at your online chart, make a little mark on your printable where each house starts and ends. The houses are the numbered areas 1-12 or AS-XII on your online chart. Once you’ve marked each one, use your straightedge to create a dashed line to separate the houses. Starting at the house right below your ascendant sign draw in numbers or roman numerals 1-12 going counterclockwise around the wheel.

Step 9
My favorite part! Draw in where your planets fall on your chart. Look at your online chart to see where they are and draw them in roughly the same area on your printable chart. You can reference the key below the chart again to see the degree that each planet is at, and then make a tick mark at each one on your printable so you know exactly where to draw your planets in, or you can eyeball it. You can decide to draw the line that points to the degree mark it’s at or not, it’s up to you.

Step 10
The final step, draw your aspects, all those crazy zig-zag lines around the chart. Remember this chart is more for show and doesn’t have to be perfect so don’t stress over this step! The easiest way to complete this step is to make a little dot in the middle ring each place there is a planet, about an inch away from the planet you drew. Then, using your straight edge, and referencing your online chart, connect the dots, in the same order that they’re connected on the online version.
Now you can decorate your chart however you’d like or leave it as is. Learn more about decoding your birth chart here.
